RPS Navigate

Command Licensing and Default Menu Location
- The RPS Navigate Command is licensed to the RPS Smart Data Prep and RPS Smart Suite Command Libraries
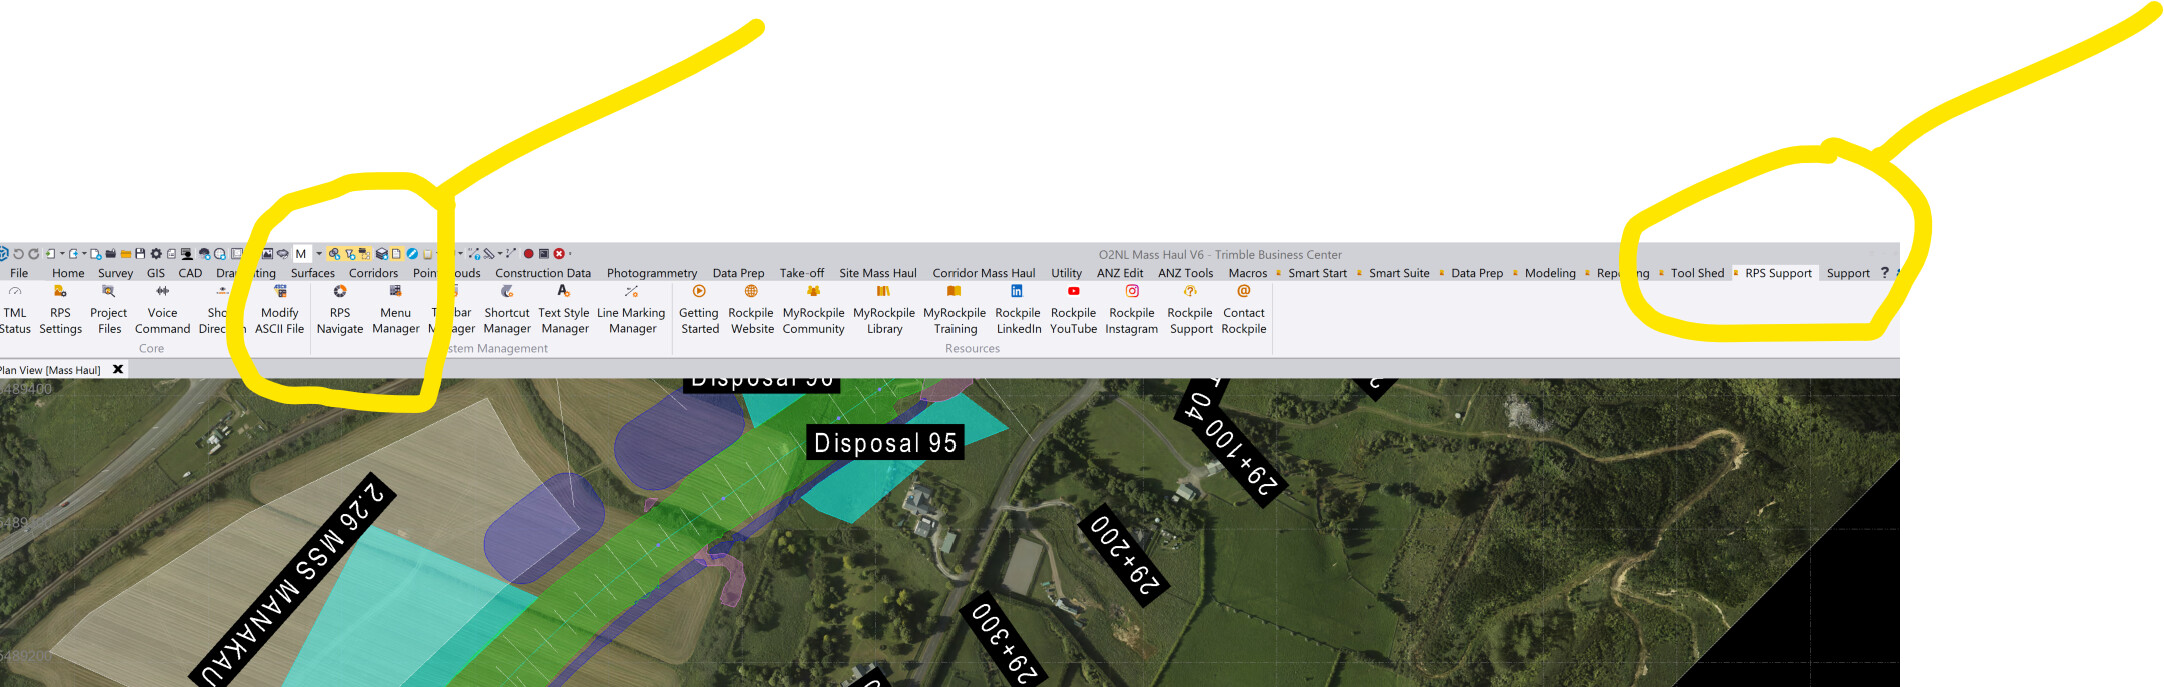
- The RPS Navigate Command is located on the RPS Support Menu in the System Management command group
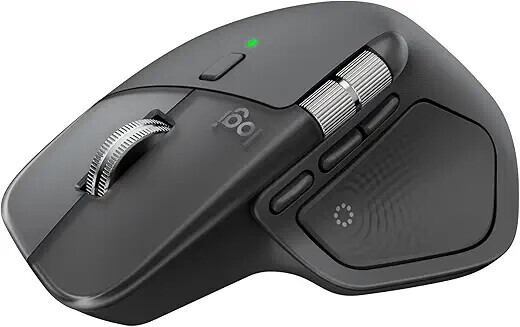
- RPS Navigate works best when programmed to a programmable button on your mouse, linking shortcut CTRL SHIFT D to the mouse button. We recommend the use of the Logitech MX Master 4 Mouse with the RPS Command Library.
Click Here to see how to configure the MX Master 4 Mouse with TBC / RPS Command Library.
Command Description
The RPS Navigate command provides single click access to the RPS Radial Puck Menu system. This allows you to configure key workflows, favorites and all TBC / RPS functions on the Puck Menu that pops up at your cursor position allowing you to navigate quickly between commands and command functions.

Key Benefits include
- All frequently used commands available on your cursor with a single click of your mouse
- Intuitive 7am to 5pm Workflow around the ring that navigates you through the typical process of building a model or doing a takeoff. All commands needed at each step of the process are available on the second ring menu, anchor button triggers the most frequently used command of the process step
- Easy to learn, easy to use, faster in operation
Command Release History
July 2025
First version released with single ring and multi ring capability
May 2026 (v2026.2)
Update that improves usability and command selection when running the multiring capability. Added Takeoff_MR2 Menu Ring configuration to installation.
Video Demonstration
Below you will find a video demonstration on how to use the RPS Navigate command with Single Ring (SR), Dual Ring (DR) and Multi Ring (MR) menu options.
RPS Navigate Configuration File Editing and Structure
If you want to learn how to modify or change the radial menus, we recommend reviewing the following post.
Command Configuration
By default the command is linked to shortcut CTRL SHIFT D, it can also be accessed from the menus, however the most practical implementation of the radial menu is to link the command shortcut to a programmable mouse button so that a single mouse click triggers the radial menu to appear at your cursor location.
If you do not have a programmable mouse, a good starter mouse is the Logitech M720 Triathlon Mouse - you can purchase these from Logitech for $69.99 in the USA. The MX Master 4 mouse from Logitech has a few more options and is our preferred mouse for running the RPS Command Library.
There are many others that you can choose from depending on the degree of sophistication that you require.
Logitech M720 Triathlon Mouse

Logitech MX Master 4 Mouse
The M720 mouse has a few (sufficient for most people) programmable buttons through the Logi Options software, which you can set to the CTRL SHIFT D shortcut, that will trigger the radial menu to appear.

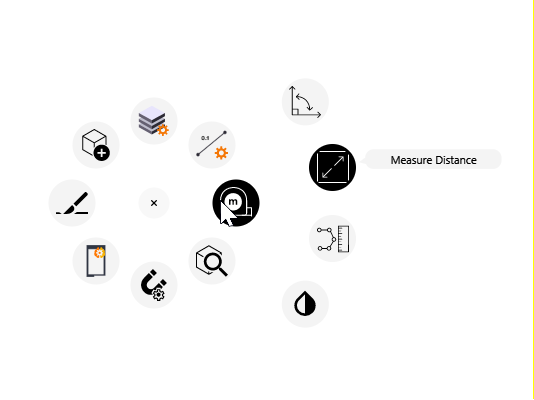
The MX Master 4 mouse has 4 programmable buttons plus a programmable thumb scroll, as well as haptic feedback and gesture controls, and a programmable “Action Ring” that we have configured for easy access to things like Snaps, Measurements, Explore Object etc.
MX Master 4 Action Ring Controls
Setting up the Logitech M720 Mouse and MX Master 4 Mouse
In this video we show you how to set up and program the Logitech M720 Mouse.
To see how to configure the Logitech MX Master 4 Mouse - Click Here
Setting up TBC Shortcuts to Use The Shortcut and Mouse
Go to the RPS Support Menu, System Management Group and select Shortcut Manager. In the command select the style called RPS Defaults. This has the CTRL SHIFT D shortcut assigned to the RPS Navigate command. Note that this set of defaults may differ o your preferred setup, if you have your own preferences, create your own shortcut style and assign whatever key stroke sequence you require for the command, and then load your preferred style of shortcuts.
Key Functions of the Radial Menu
- The brain button in the center of the puck, acts as a back button, allowing you to step backwards through levels in the menu with each click. You can control whether the radial menu opens up at the last level you were on each time it is executed, or returns you to the Home radial menu each time. That is controlled through the Settings function accesses from the Radial Menu Changer Menu (see below)
- To exit the radial menu, click the brain button one more time from the radial home level and that will exit the radial menu.
- The radial menu will close when a command is executed.
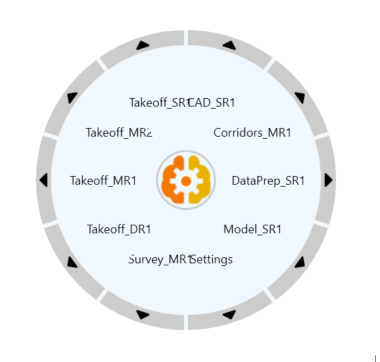
- When you are at any level, a long click and release of the brain button pops up the Radial Menu Changer menu, from which you can change menus.
- From the Radial Menu Changer you can also access the Settings page, the settings page allows you to define how you want the radial menu to open each time it is executed - the options are your last accessed radial menu level or the radial menu home level.
- The menu puck is divided into “pie slices”. Each pie slice can be configured either as a sub menu or as a command button. A sub menu will link you to another menu that can have either more sub menus or more command buttons. You can mix and match sub menu controls and command buttons on the same menu.
- When a sub menu contains commands like Smart Edit, Smart Draw, Smart Elevate that have multiple command options (like Break, Join, Fillet / Chamfer etc.), and you are running a menu with the extension MRX (where X is a number and MR stands for Multi Ring) the command options appear on the third / outer ring, allowing you to run a command like Smart Edit in a specific mode like Break directly from the menu.

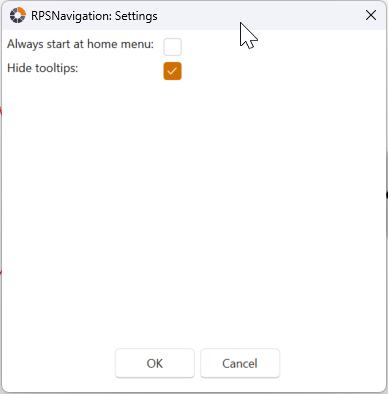
- All sub menus, command buttons and command mode buttons can be given their own Tool Tips, these carry the name of the sub menu, command name, command mode name as well as a tool tip indicating the use case for the button. Too;l Tips can be disabled in the RPS Navigate Settings control. Do a long left click on the brain button, select settings from the radial menu presented and enable Hide Tooltips from the menu presented.
- Each sub menu, command button or command mode button can be given a caption. the caption is the text that will appear on the button. You can leave the caption blank if you wish to only display icons.
- There is no limit to the number of pie slices that you can have on a single menu, we have found that 7 is a good number, this allows you to see a short caption as well as an icon and the Tool Tip easily.
- With an odd number of pie slices, the pie slice at the 6 o’clock position spans the 6 o’clock position and is the ideal pie slice to program as a persistent menu e.g. CAD or Favorites type command access.
- If you use Icons only i.e. no captions, then you can have 9 or 11 buttons on each menu level. Anything above these numbers becomes a little impractical in use.
- With the outer ring you have a lot more flexibility from a single menu because the outer ring is larger, you can place more buttons at each menu level that fly out from each pie slice. In this way of working, you require less menu levels to achieve the same objectives.
- RPS installed Puck menus use the 6 o’clock pie slice for CAD command access in all sub menus and use the 7 button approach in most cases. The menus are designed to deliver the RPS recommended workflows if you follow the buttons in sequence around the puck from the 7 o’clock position around the puck in a clockwise fashion to the 5 o’clock position. i.e. in the above menu images, the workflow is as follows
- PDF Management
- Data Cleanup
- Data Prep
- Modeling
- Roads
- Takeoff, Plotting & Reporting
- CAD
with the CAD menu giving you fast access to the CAD Tools that are typically required at any time during any workflow or process.
- You can create different menus for different workflows and change menus using the long click of the Brain button in the center of the puck.
How to Configure the RPS Navigate Command
The RPS Navigate command utilizes a settings text file called RPSNavigate.rps that is located in the RPS Settings folder of your system.
If you are creating / using multiple radial menu configurations for different workflows, those are additional .rps settings files that are located in a folder called RPSNavigate in the RPS Settings folder of your system. The additional .rps files can be named as you see fit, keep the names short because the file names provided act as the captions on the radial menu when you call up the Puck Changer (using the long click of the Brain button). Use names like Survey, Takeoff, DataPrep, Alans, Shanes etc.
The default RPS Puck configurations can be restored at any time by deleting the RPSNavigate.rps file from the RPS settings folder. You can also rename the RPSNavigate.rps file in the RPS Settings folder and that will have the same effect.
If you want to backup or archive your .rps settings files, you can create a subfolder under the RPSNavigate folder in the RPS Settings folder and move your old, unwanted, backups, or not currently used configurations to that folder and they will not appear on the Puck Changer menu.
For detailed instructions on how to configure the .rps settings file using a text editor, Click Here.
Example .rps Configuration Files
Here are a few .rps configuration files that you can use to start out with the radial menu system. You can rename these files and use them as a basis to develop your own radial menu system that best suits your workflows and processes.
We recommend that you use the Multi Ring Menus as these provide the fastest and most flexible solution.
Takeoff - Multi Ring 2 (For TBC v2026.2)
This is installed with the product today
Takeoff_MR2.rps (32.6 KB)
Corridors - Multi Ring 1
Corridors_MR1.rps (34.4 KB)
Learning to Use The RPS Navigate Command / Menu System
Most users have been using TBC for some time before adopting the RPS Navigate command. In that time you have developed workflow habits that cause you to by default
- Close commands before opening a new command
- Use the TBC / RPS menus for accessing commands
- Use Shortcuts to access most frequently used commands
- Use Command Pane to find and execute commands
These processes have built up significant “muscle memory” in your brain, to the extent that you do these actions somewhat automatically, because that is the way you have been working for a long time.
To break the habits / muscle memory, I have found that the best solution is to remove the option to use the standard TBC menus to access the commands available on the Takeoff_MR2 menu configuration. In this way you cannot trigger any of those commands from the menu, forcing you to either learn to use shortcuts or the RPS Navigate or the Command Pane to access the commands. I have found that by using the menu configuration below, you will very rapidly switch to the RPS Navigate control and retrain yourself into the new way of working, and then able to reap the benefits of that change.
While running Smart Suite commands, all of the commands have the Switch Command / Smart Switch control. This will allow you to close all running commands or the currently running command, but it also presents the list of all running commands so that you can simply jump from one command to another. You can also press ESC on the keyboard to access the Smart Switch list of running commands, right on your cursor. This will start to train you out of the habit of closing TBC commands all the time.
The reasons to close TBC commands are significantly reduced today while running RPS Smart Suite commands, with the advent of the Padlock Button in the header bar, you can unlock a command so that you have full access to the graphics, grips and right click menus as a temporary override to the running command(s) and then return to the command to pick up where you left off.
Combining the Padlock Control, Smart Switch, RPS Navigate and a Programmable Mouse is the new way to work with TBC / RPS Smart Suite, and will significantly improve your workflows. Combine this with Command Shortcuts and Command Hotkeys in RPS Smart Suite commands, you will suddenly find that life gets easier, faster and more interactive.
RPS Minimal Menu Configuration
RPS - v2026.2 - Minimum Menu.bin (2.8 MB)
Download this file and store it somewhere safe e.g. \Documents\TBC Master\Menus\
Run Support - Customize Ribbon - Import and browse to locate the file and OK to load the file.
While you will find that the first few days take a while to get used to using RPS Navigate to access your frequently used commands, you will find that you quite quickly break the habits of a lifetime and get used to the new way of working. It is well worth persevering for 2 - 3 days before making a decision to continue or quit and return to your older way of doing things.
Use Case Videos
The following videos show the use of the RPS Navigate command in a work process context
Feedback and Enhancement Requests
If you would like to provide feedback on the use of the RPS Navigate command or to request enhancements or improvements to the command please click Reply below.